Next.js Braintree subscriptions integration
I recently integrated Braintree subscriptions into a Next.js project as apart of building screengrab.it — and it was not a straight forward as I expected so thought I would document the process here. I realise the first question here is “Why aren't you using stripe?”. Stripe doesn't support accounts from the jurisdiction where I live and we have been waiting for ~6 years.
Stripe, Paypal and Braintree all provide similar functionality and pricing. Paypal is notorious for having bad documentation and is one of the reasons they bought Braintree in 2013. A nice perk of having Braintree is it allows users to pay with Paypal accounts.
Create sandbox account and subscriptions
Head over to https://www.braintreepayments.com/je/sandbox and signup with a sandbox account.
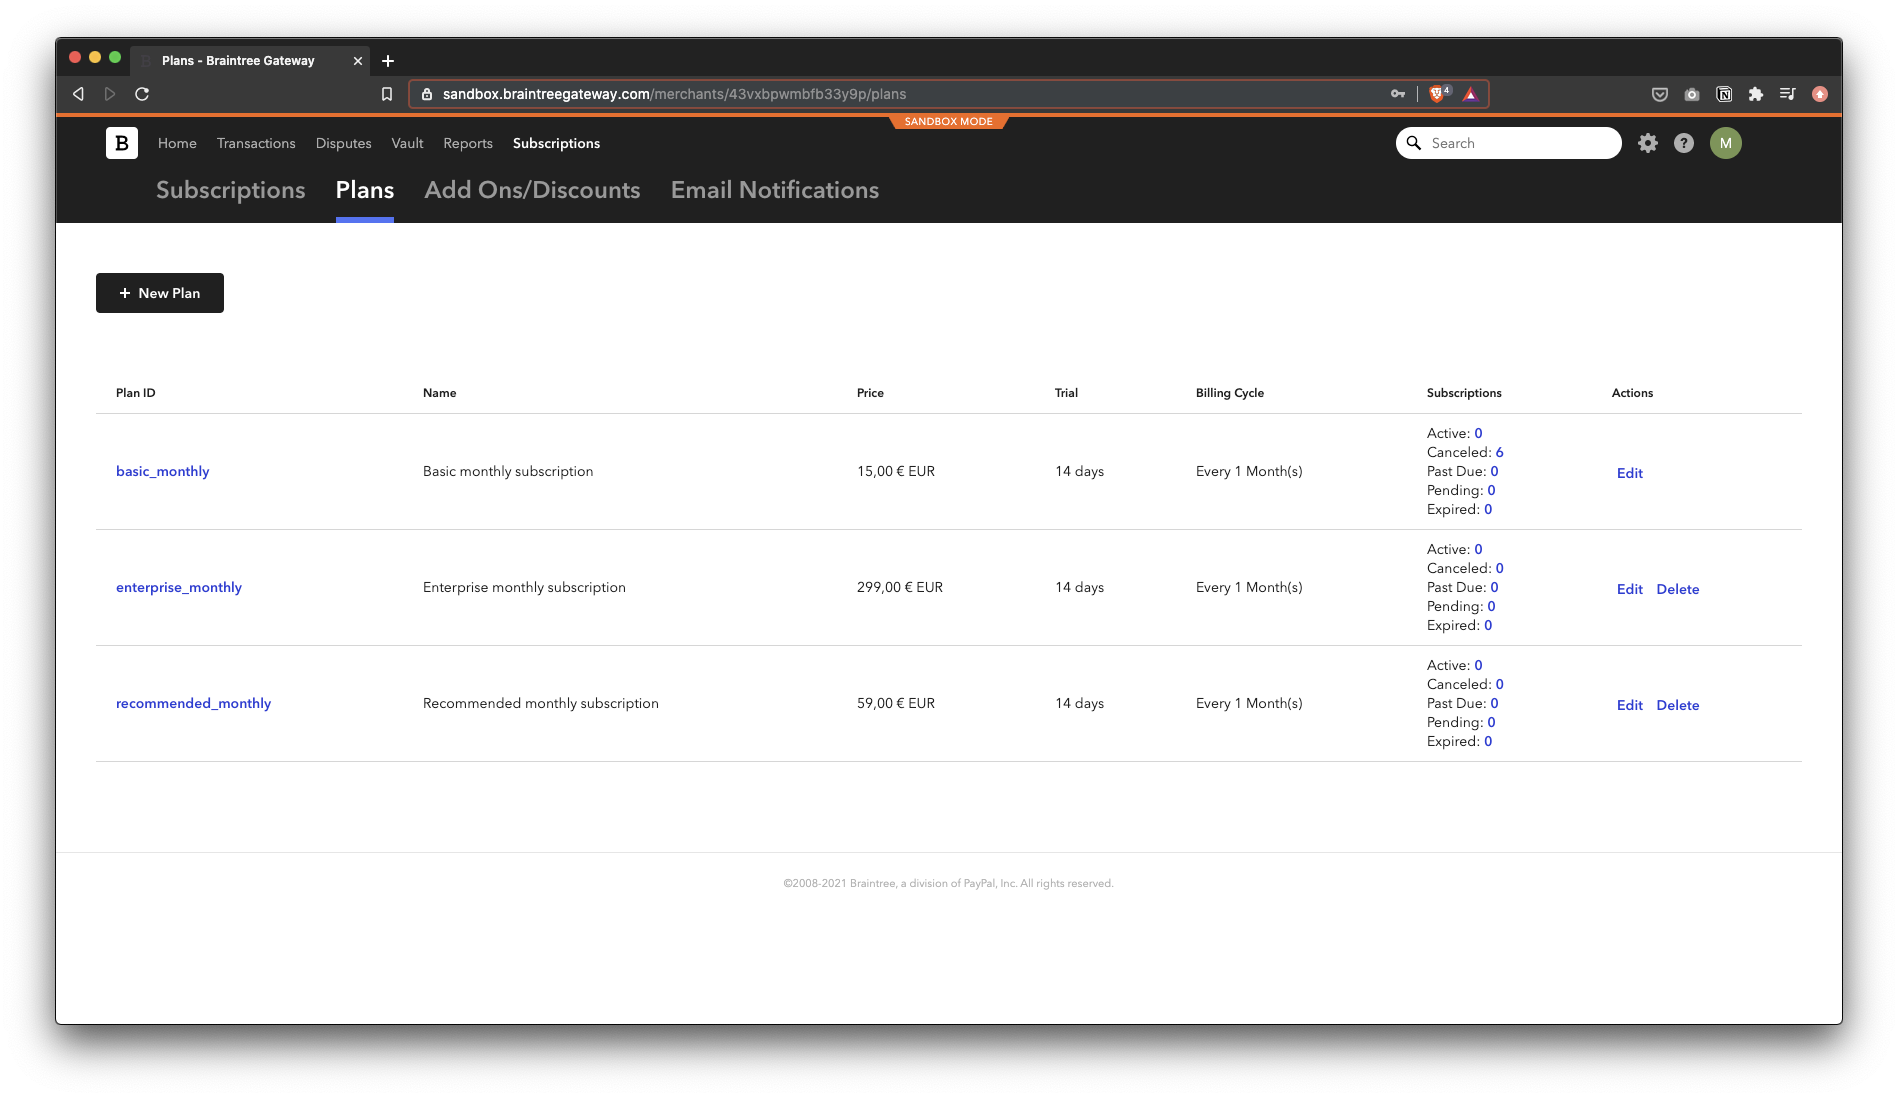
Go to Subscriptions, then Plans where you can create new plans. I created 3 plans with the Id’s basic_monthly, recommended_monthly and enterprise_monthly.

Add to next.js project
Move over to your next.js project and add braintree-web-drop-in-react. braintree-web-drop-in-react is a react wrapper for Braintree’s Drop-in UI.
yarn add braintree-web-drop-in-react
# or
npm install braintree-web-drop-in-react
Add the following component to your project.
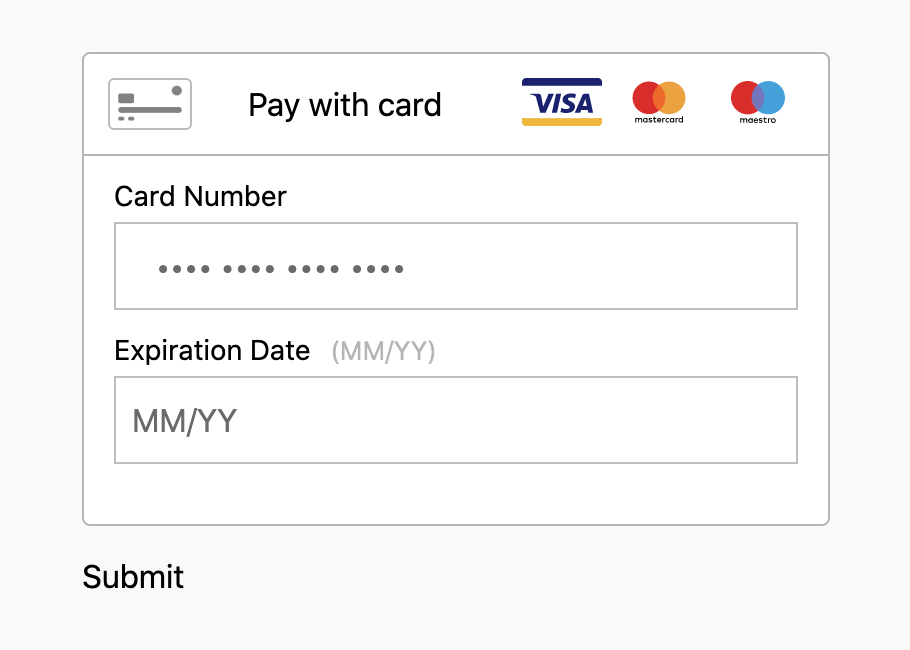
Your TOKENIZATION_KEY is generated on the Braintree portal by clicking the settings cog in top right and choosing API. Scroll down and press Generate New Tokenization Key. With the key added when you run the project you should see the drop-in UI:

Update your component to hook the buy button up. The method takes a nonce from the Braintree’s drop-in UI and posts it to an endpoint on your backend; in my case I was using /api/payment/checkout.
Create the API endpoint
Create the api endpoint you added to the buy action in the previous step. For me this was /api/payment/checkout. Add the following code:
This code will make a one-off purchase of $10.00. Add Braintree to your project:
npm install braintree
and import the gateway from your utils or libs folder:
Which imports my keys from my .env
You can find your own settings back in the settings cog of the Braintree portal and select View in API Keys section.
Test the one-off purchase
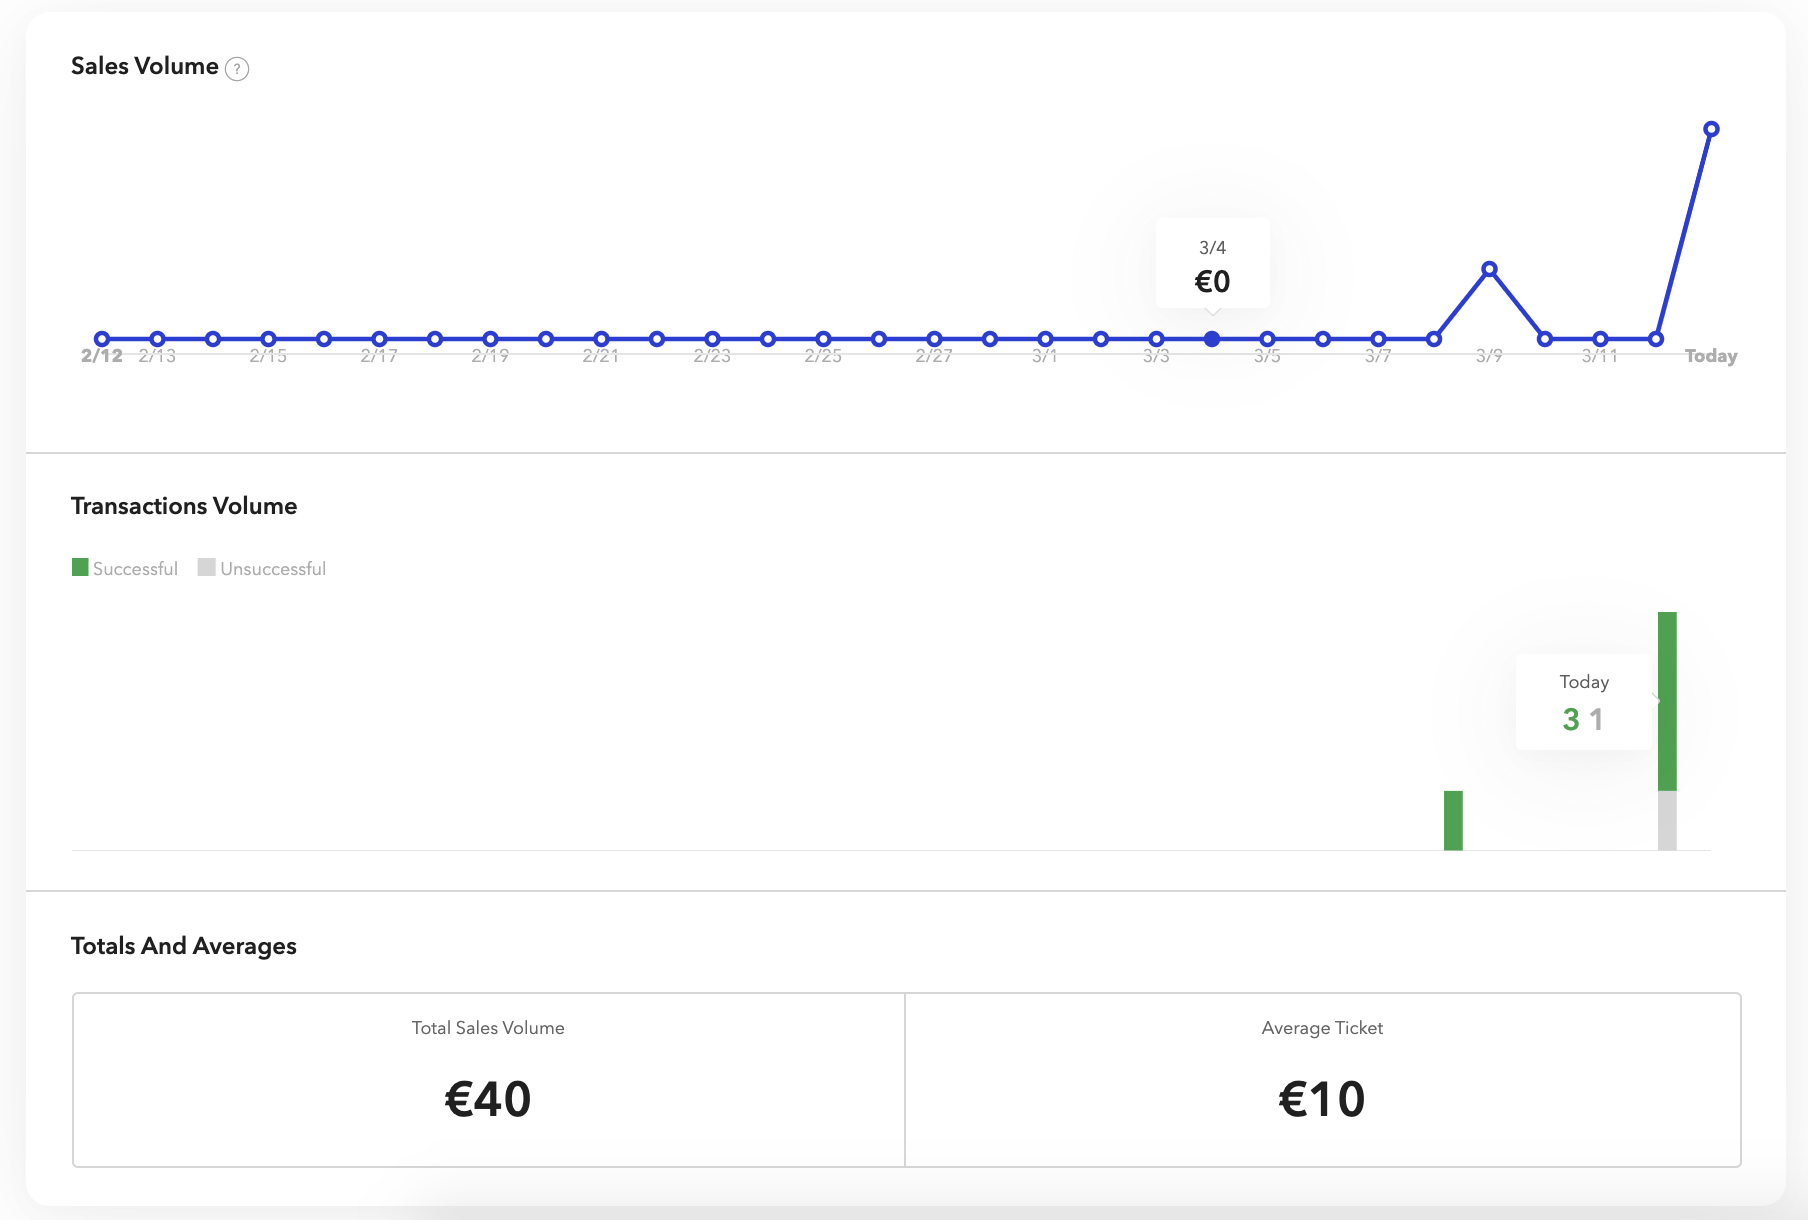
If you run the project and add a card with number 4242 4242 4242 4242 and any future date for expiry. Clicking submit you should see the “Completed.” message and be able to see the transactions hitting Braintree on their portal.

Subscription purchase
To subscribe to one of our plans we need to take a few steps. We need to:
1. Create a record of our customer in Braintree
2. Use the customer id and payment nonce to get a payment method token
3. Use the payment method token to subscribe to a plan
We can do this by updating our checkout endpoint to the following:
Here we have the user id which is passed from the client. The planId is the Id we entered when we created the plans, for me “basic_monthly”.
Again when we run this we should see “Completed.” On the Braintree portal in Vault you should be able to search customers and see 1 new customer.
 If you go to Subscriptions and search you should see an active subscription.

If you click Plans you can see a list of active and canceled subscription.
